

Beginner's Guide to Conditioning Flowers Before Arranging
A practical guide to conditioning flowers before you arrange them: sharp cuts, clean water, stripped foliage and a few quiet hours that keep a bouquet looking good for days longer.
You bring home a bunch of pale pink roses, trim the ends over the sink, drop them into the first vase you find, and by the following evening the heads are nodding over the rim. Nothing was wrong with the flowers. They simply never had a chance to drink. Conditioning is the unglamorous half hour between buying flowers and arranging them — the trimming, stripping and hydrating that decides whether a bouquet looks good for two days or for a week. It is also the step most beginners skip, usually because nobody told them it mattered.
What Conditioning Actually Does
A cut flower is a stem with an open wound at one end and a load of leaves and petals at the other. With no roots, everything it needs has to travel up a narrow channel of tissue, and that channel clogs easily. Two things go wrong quickly. Air is drawn into the cut end as soon as the stem leaves water, creating a bubble that blocks the flow — the same reason a straw stops working when you lift it out of a glass. Meanwhile, bacteria and algae multiply in the bucket, coating the stem ends in a slippery film that seals them shut.
Conditioning deals with both problems at once: a fresh cut opens clean tissue, clean water keeps it that way, and a few hours of undisturbed drinking refills the stems before you ask them to hold a shape in a vase. Flowers conditioned properly not only last longer, they also stand up straighter, which makes them far easier to arrange.
Begin With Clean Tools and a Clean Bucket
Scrub your bucket with hot soapy water and rinse it well, even if it looks clean. A bucket that held flowers last week is a bucket full of bacteria. Choose one tall enough that stems can stand upright rather than lean at an angle, and fill it no more than a third full to start.
Kitchen scissors are a poor substitute for snips. Blunt blades crush the stem instead of slicing it, and a crushed stem is a blocked stem. Use a sharp pair of bypass pruners or florist snips, and wipe the blades with rubbing alcohol between bunches if you are mixing flowers from different sources.
Trim With Intent
Cut at a 45-degree angle, removing two to five centimetres from the end. The angle gives the stem more exposed surface to drink through and stops the cut end from sitting flat against the bottom of the vase. Use one clean, confident slice rather than several small nibbles, and never saw at the stem.
Get the stem back into water within a minute or two — the longer it sits in the air, the deeper the air pocket travels. Some florists cut stems while they are held under water, which helps with roses and hydrangeas in particular. If a stem looks brown or mushy at the base, keep cutting until you reach firm, pale tissue.
Strip Everything Below the Waterline
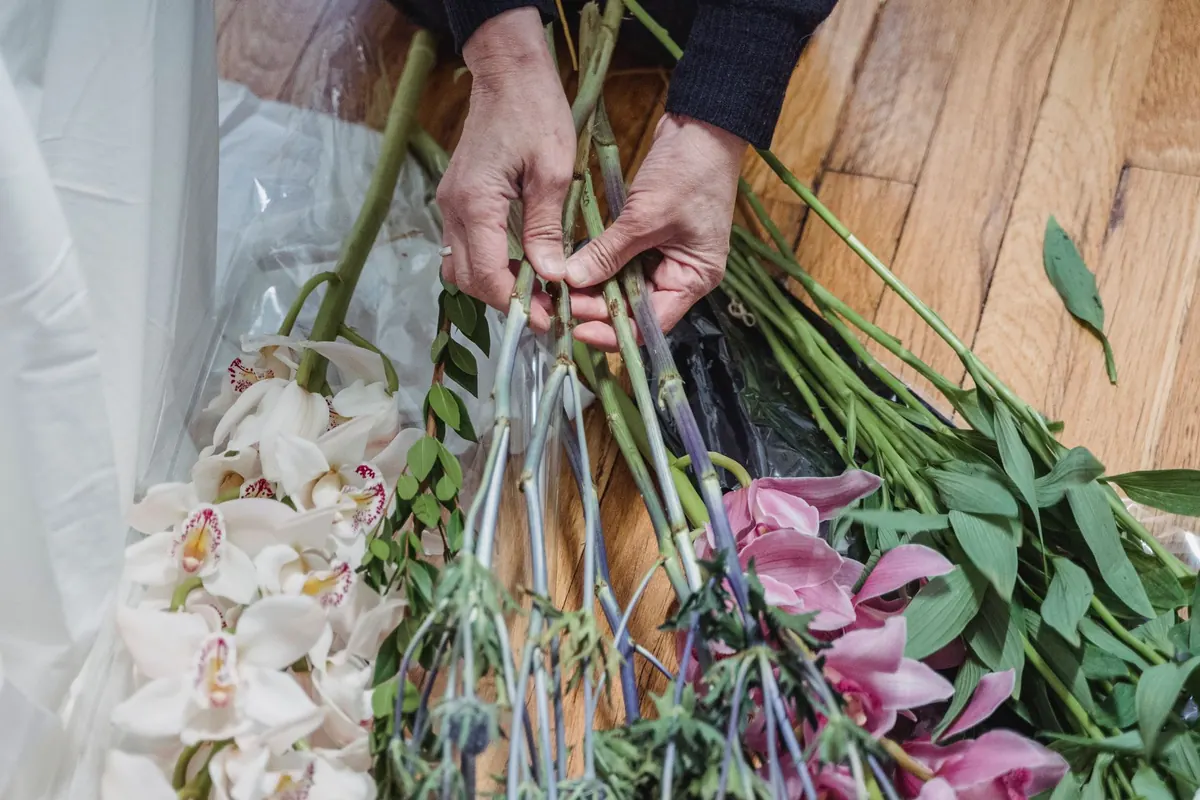
Foliage left sitting in water rots within a day, and the rot spreads through the whole bucket. Be ruthless: strip the lower third to half of each stem, and imagine where the water level will sit in your finished vase when you decide how far to go.
While you are there, take off anything else the stem does not need:
- Leaves and side shoots that would sit below the waterline
- Thorns on the lower stem, so you can handle the bunch comfortably
- Brown outer guard petals on roses, which protect the bud in transit and are past their best
- Torn, yellowing or bruised leaves and any damaged blooms
Adjust for the Stem in Your Hand
Different stems need different treatment. Once you can recognise a few basic types, you will stop guessing.
Woody and semi-woody stems
Lilac, forsythia, flowering cherry and hydrangea drink slowly through dense tissue. Cut the end, then split the bottom two centimetres vertically with your snips, or give it a light tap with a small hammer to open the fibres. Stand them in slightly deeper, lukewarm water and give them longer than softer stems.
Hollow stems
Delphinium, larkspur, hollyhocks and amaryllis have hollow centres that collapse if you crush them. Cut cleanly, keep the water shallow to moderate, and strip most of the foliage so the stem has less to support. If a hollow stem traps an air bubble, hold it underwater and let the stem fill before standing it up.
Milky or sappy stems
Poppies, euphorbias and poinsettias bleed a sap that seals the cut within seconds. Sear the cut end over a flame for a few seconds, or dip it in just-boiled water for five to ten seconds, then plunge it straight into cool water. Wear gloves with euphorbia — the sap irritates skin.
Bulbs and spring flowers
Daffodils, narcissi and hyacinths release sap that shortens the life of other flowers sharing their water. Condition them in their own bucket for at least a few hours, ideally overnight, and keep them in a separate vase afterwards or give the stems a good rinse and a fresh cut before mixing. Tulips prefer cool water and will keep growing in the vase, so leave them shorter than you think you need.
Garden roses and soft annuals
Roses, especially field-grown ones, respond well to lukewarm water, which encourages tight buds to open. Sweet peas, ranunculus and most delicate spring flowers prefer cool water and a cool room. When in doubt, match the water temperature to the room and keep everything out of direct sun.
Give Them a Few Quiet Hours
Conditioning is not finished when the last stem hits the bucket. Put the bucket somewhere cool and dim, away from radiators, open windows and ripening fruit — apples and bananas release ethylene gas that ages flowers faster. Four to six hours is the minimum; overnight is better, and it is the single easiest upgrade to your arrangements. If you are arranging the same afternoon, give them at least an hour to drink first.
A Routine You Can Repeat Every Time
- Scrub a bucket, rinse it, and fill it a third full with clean water and flower food.
- Lay the flowers out and strip foliage from the lower half of every stem.
- Cut two to five centimetres off each stem at an angle and drop it straight into the bucket.
- Split woody stems, sear sappy ones, and keep daffodils in a bucket of their own.
- Leave the bucket in a cool, dim place for several hours or overnight.
- Arrange, then change the water and re-cut the stems every two days.
One last habit worth building: keep a small notebook note of how long each type lasted and how you treated it. Two or three rounds of bouquets will teach you more about your local suppliers than any general rule, and you will start to see which flowers reward the extra ten minutes — and which ones never needed the fuss at all.
Photo: Greta Hoffman / Pexels